
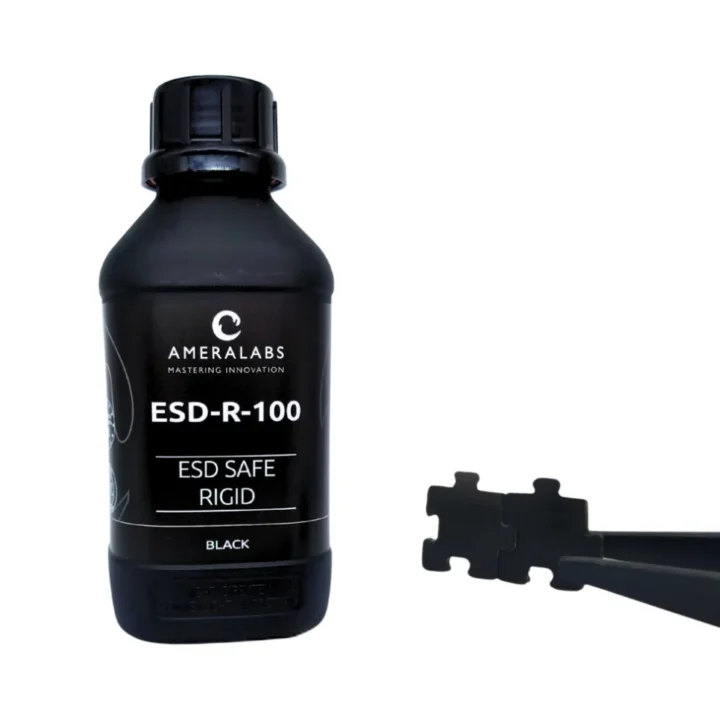
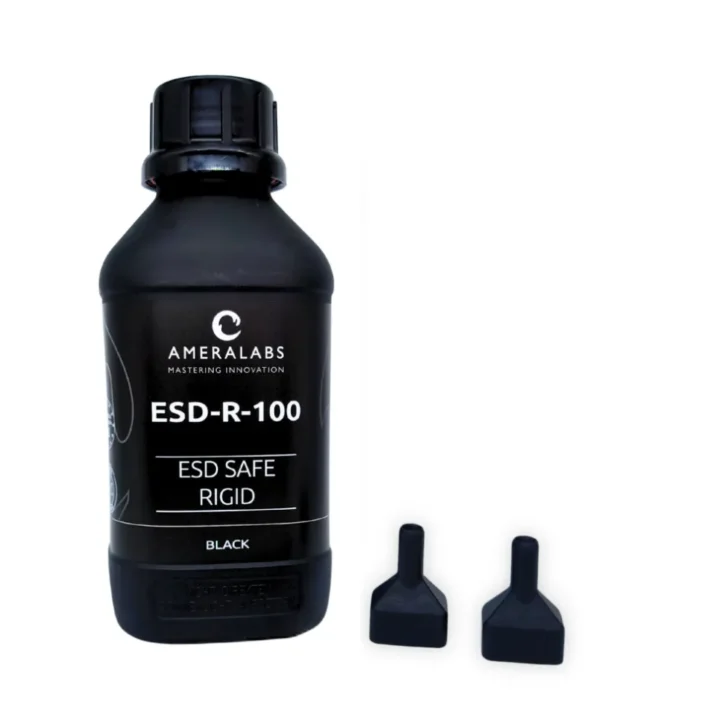
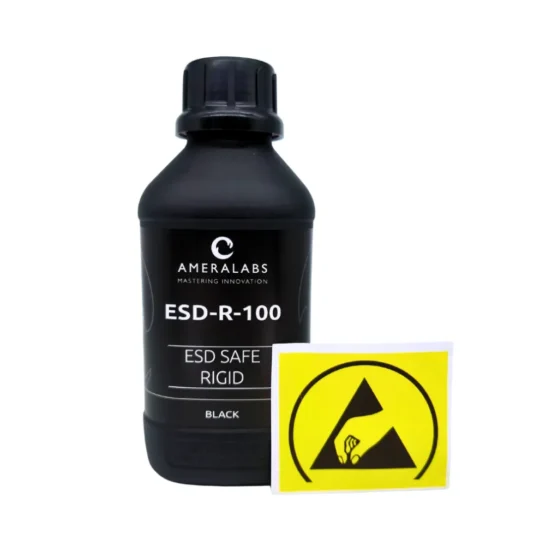


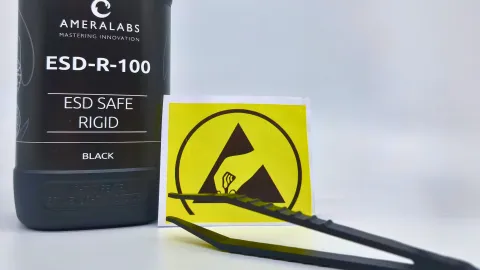
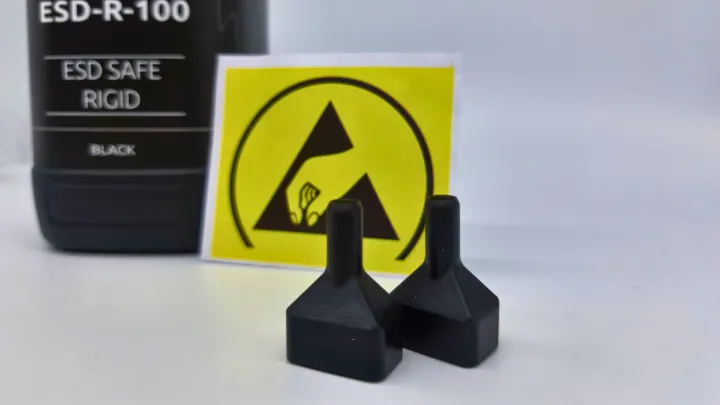
ESD-R-100
Best suited for
- ESD-safe parts
- Jigs & Fixtures
From €92.00
Electrostatic Protection for Your Custom Components!
Protect your electronics with an ESD-safe 3D printing resin designed for durable, precise tools and fixtures in the electronics industry.
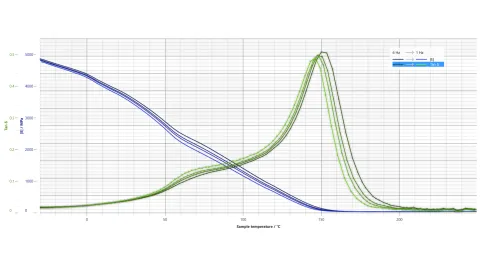
Heat-Tough Resin
Heat ruins jigs. ESD-R-100 3D printing resin withstands 160°C for ESD-safe fixtures.

Static-Free Tools
Static damages electronics. ESD-R-100 resin for electronics prints 10^7-10^10 ohm/sq ESD-safe jigs.
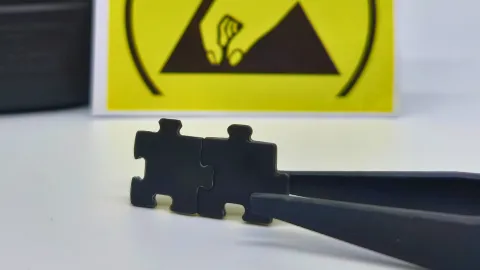
Parts That Fit
Inaccuracy hurts. ESD-R-100 resin for electronics ensures low-shrinkage, 10^7-10^10 ohm/sq tools.
ESD-R-100: Static-Free Tools
Static ruins electronics - ESD-R-100 prevents it with 10^7-10^10 ohm/sq resistivity. This ESD-safe 3D printing resin prints tough jigs and fixtures with 160°C heat resistance for soldering and wafer handling. Low shrinkage keeps parts precise.
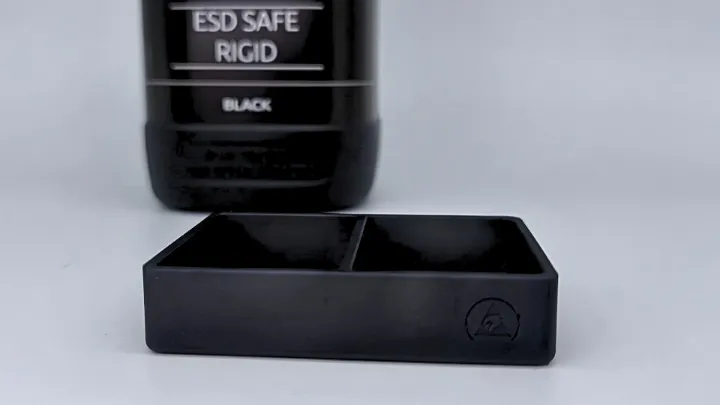
Custom Fixtures
Fragile fixtures waste time. ESD-R-100 resin for electronics, with 90 Shore D hardness and 160°C resistance, prints ESD-safe 10^7-10^10 ohm/sq tools that last.
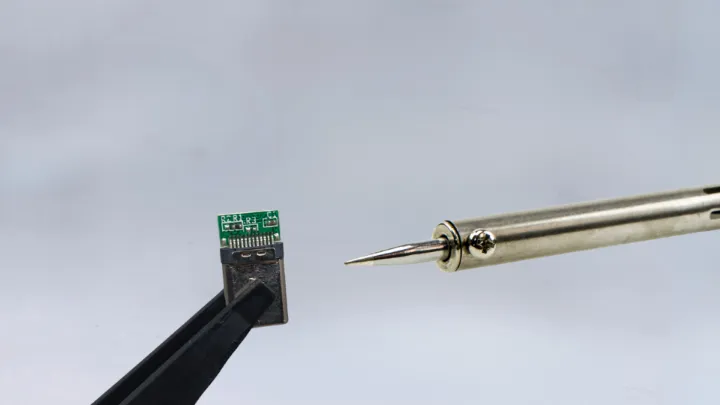
ESD-R-100: Soldering Jigs
Heat warps lesser resins. ESD-R-100 resin for electronics withstands 160°C, printing ESD-safe jigs at 10^7-10^10 ohm/sq with clean, accurate finishes.
Frequently asked questions
Does ESD-R-100 work with my 3D printer?
Yes, ESD-R-100 works with most MSLA and DLP printers using 365-420nm light. Mix thoroughly, but gently (no shaking) before use – 30 minutes in an ultrasonic bath helps. Use slower lift speeds. Settings: ameralabs.com/3d-printing-settings
Does ESD-R-100 meet ESD-safe standards?
Yes, surface resistivity is 10^7 to 10^10 ohm/sq, which is the static-dissipative range. Charge bleeds off safely without sudden discharge.
Are ESD properties uniform throughout the part?
Yes, carbon nanotubes are distributed throughout the material, not just on the surface. Protection is the same in all directions, even on machined surfaces.
Does ESD-R-100 repel dust?
Yes, no static buildup means no particle attraction. Parts stay cleaner than standard plastics.
Can ESD-R-100 replace machined metal fixtures?
Yes, print custom ESD-safe jigs and fixtures in days instead of weeks. Fraction of the cost.
Does ESD-R-100 withstand soldering temperatures?
Yes, glass transition temperature is around 160°C. Works for PCB assembly jigs and fixtures with no direct soldering contact.
Can I wash ESD-R-100 prints with water?
No, use IPA only. Clean thoroughly due to higher viscosity. Finished parts resist moisture (under 0.2% water absorption).